You spent hours picking the perfect pendant lights. You researched dimmers, color temps, even bulb lumens. But your kitchen still feels flat—like something’s missing. That “something” is likely poor lighting layering. And slapping up a few recessed cans won’t cut it. Enter residential track lighting systems: flexible, directional, and wildly underused in modern homes—mostly because people install them like they’re outfitting a 1980s gallery.
The Core Problem With Track Lighting Today
Track lighting got pigeonholed as “commercial” or “retail-only.” So homeowners either avoid it entirely or install cheap, inflexible kits from big-box stores. Result? Harsh glare, fixed angles, and zero adaptability when you rearrange furniture—or your life.
Worse, most electricians treat track like trim work: slap it on the ceiling, connect three heads, call it done. But track isn’t just about illumination—it’s about control. Control over where light lands, how it sculpts space, and how easily you can pivot when needs change.
And if you’ve ever tried swapping out halogen heads for LEDs in an old-school system? Good luck finding compatible parts. Compatibility chaos is real.
How to Install residential track lighting systems That Actually Work
Forget pre-bundled kits. Build your system like a pro—with intention. Here’s how:
Map Your Light Zones First
Walk through your room at different times of day. Where do shadows pool? Where do you prep food, read, or display art? Mark these zones. Each gets its own head—or two. Don’t light the whole room evenly. That’s how you get a cafeteria vibe.
Choose Track Type Based on Voltage
Line-voltage (120V) tracks are simpler to install—no transformer needed—and work with standard dimmers. Low-voltage (12V/24V) offers finer beam control but demands magnetic or electronic transformers. For most homes, line-voltage wins on cost and simplicity.
Pick Heads That Swivel and Rotate
A head that only tilts vertically is half-useless. You need 360° rotation + 90° tilt. Why? Because your sofa might move. Your painting might shift. Your kid’s science project might need spotlighting next Tuesday.
Wire Smart From Day One
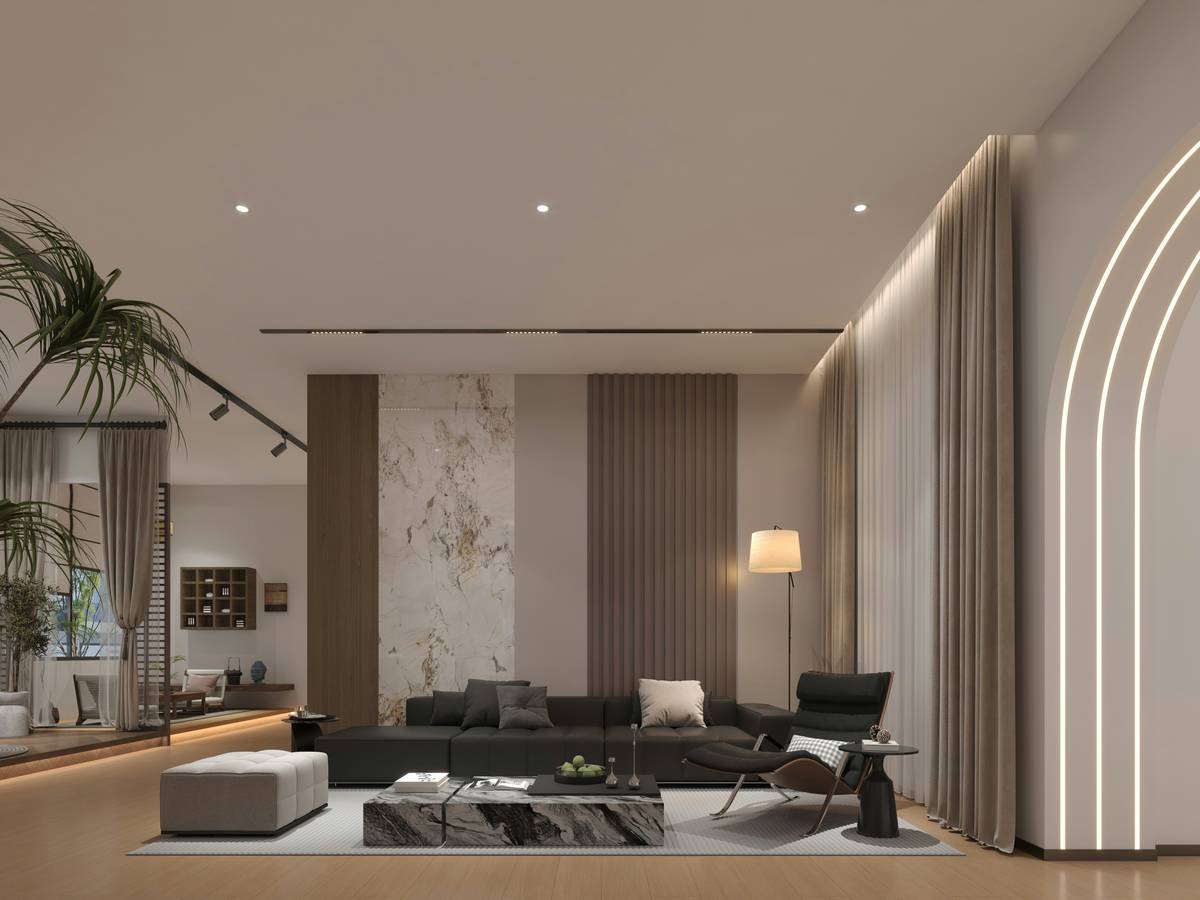
Run your track on its own circuit. Not shared with outlets. Not daisy-chained from a bedroom. This avoids voltage drop—especially critical with LED loads. And always leave slack in the junction box. Future upgrades (smart controls, tunable white) will thank you.
| System Type | Upfront Cost | Flexibility | Best For |
|---|---|---|---|
| Basic H-Track (Single Circuit) | $80–$150 | Low – heads fixed to one circuit | Small hallways, closets |
| Dual-Circuit Track | $180–$300 | High – control zones independently | Kitchens, living rooms, home offices |
| Monorail (Cable-Based) | $250–$500+ | Very High – curved layouts, sculptural | Open lofts, statement ceilings |
The Industry Secret No One Talks About
Here’s what lighting reps won’t tell you: track length dictates performance more than wattage. Most systems lose efficiency beyond 20 feet on a single feed. Voltage drop dims LEDs toward the end—sometimes by 15–20%. The fix? Feed power from both ends of long runs. Or use a center-feed design. Electricians skip this because it adds $40 in wire and 20 minutes of labor. But it’s the difference between “meh” and magazine-worthy lighting.
And another secret: paint your track matte black—even in white rooms. It disappears better than white-on-white. Your eyes lock onto the light, not the hardware. Try it. You’ll never go back.
Frequently Asked Questions
Can I install residential track lighting systems myself?
If you’re replacing an existing ceiling fixture and have basic wiring skills—yes. Just turn off the breaker, match wire colors, and secure the mounting plate. But if running new circuits? Hire a licensed pro.
Are LED heads compatible with older track systems?
Not always. Measure the contact spacing (usually 1” or 2”) and check voltage. Many vintage tracks use proprietary connectors. Retrofit kits exist—but often cost more than upgrading the whole track.
How many lights can I put on one residential track lighting system?
Stay under 80% of the circuit’s rated load. A standard 15A circuit handles ~1,800 watts. At 10W per LED head, that’s 144 heads—way more than you’d ever use. Real limit? Heat dissipation and physical space. 6–8 heads per 8-foot section is ideal.