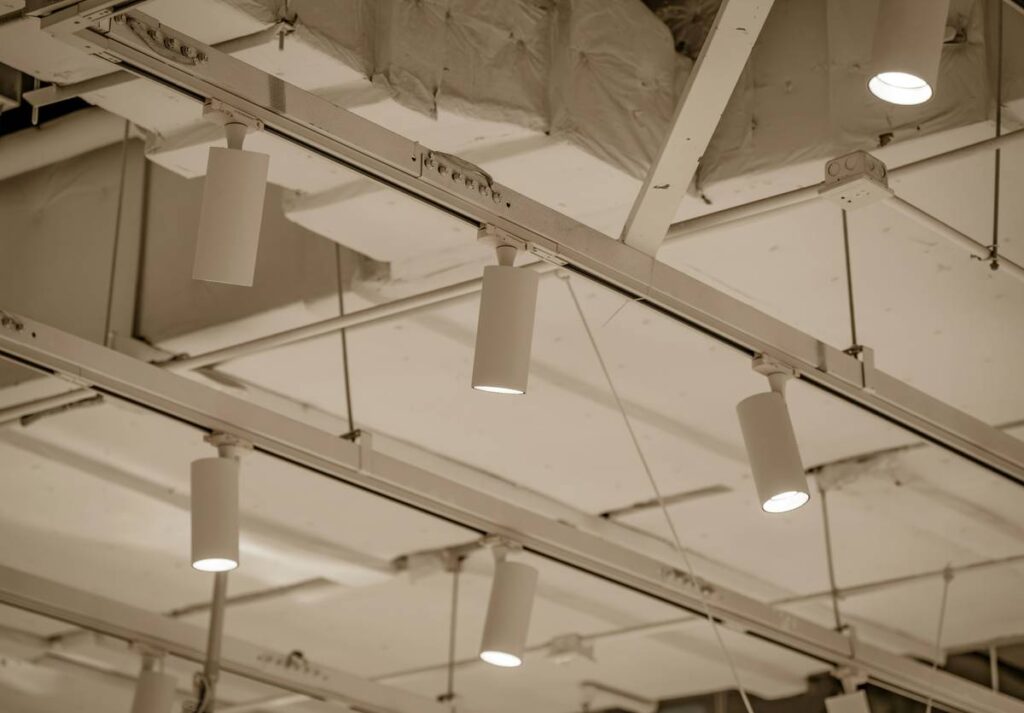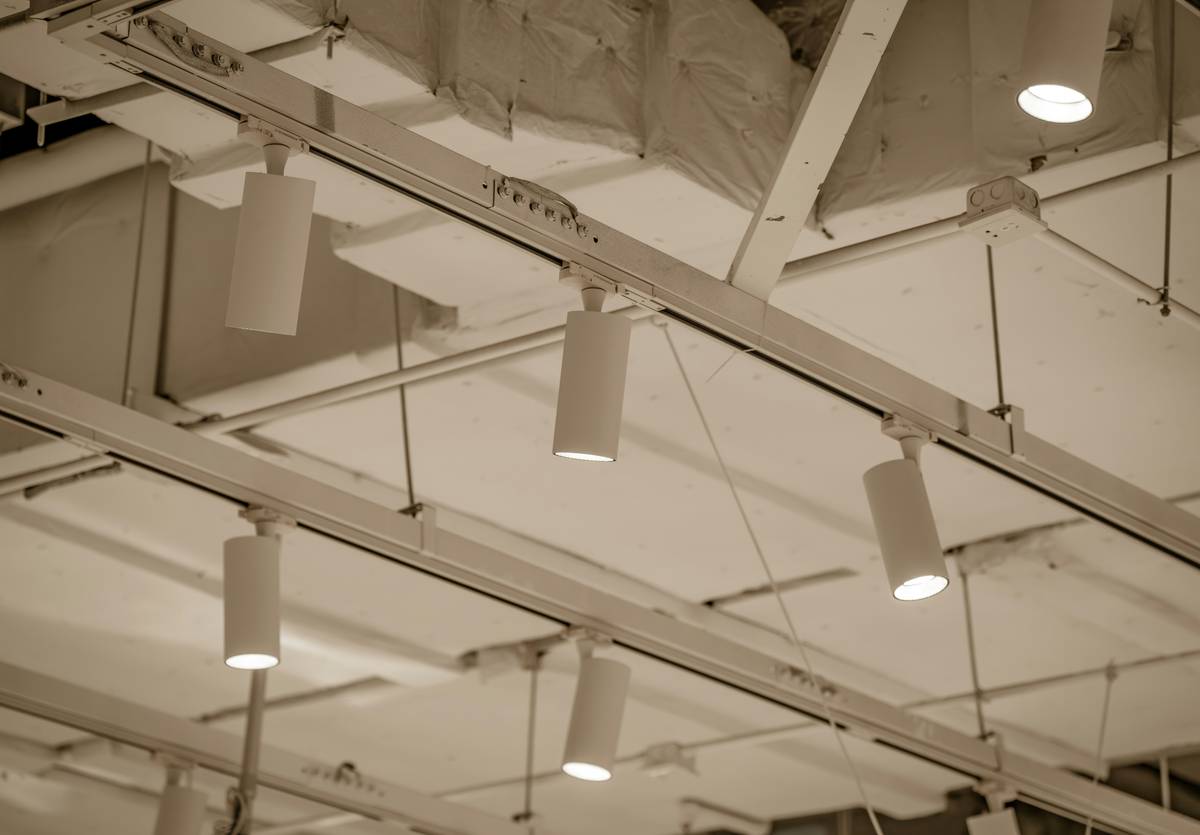
If your home gym feels more like a dimly lit basement than a motivation zone, you’re not alone. Poor lighting sabotages workouts—making form hard to see, energy levels drop, and even increasing injury risk. That’s where track lighting home gym setups shine. Unlike fixed fixtures or harsh overhead LEDs, adjustable track systems deliver targeted, glare-free illumination exactly where you need it: over the squat rack, treadmill, or stretching mat. In this guide, we’ll break down how to install, position, and optimize track lighting for peak performance—without blowing your budget or frying your circuits.
Table of Contents
- Why Track Lighting Matters for Your Home Gym
- Step-by-Step Installation Guide
- 5 Best Practices for Flawless Illumination
- Real Results: Before & After Case Studies
- Frequently Asked Questions
Key Takeaways
- Track lighting offers directional control unmatched by standard ceiling fixtures.
- Proper placement reduces shadows on equipment and mirrors—critical for safety.
- LED-compatible tracks cut energy use by up to 75% vs. halogen (U.S. Department of Energy).
- Avoid “single-track syndrome”—one line rarely covers dynamic movement zones.
- Always test beam angles before final mounting; 30°–45° is ideal for most gyms.
Why Track Lighting Matters for Your Home Gym
Most DIY home gyms fail at lighting because they treat it as an afterthought. You buy the barbell, the rack, maybe even rubber flooring—but then slap in a single dome light that casts long shadows across your deadlift path. I learned this the hard way. My first garage gym used a cheap three-bulb track kit from a big-box store. I mounted it dead-center, assuming it’d “cover everything.” During evening sessions, my shadow would swallow the entire weight bench. Squat checks? Forget it—I couldn’t see my knees aligning under the bar. It wasn’t just inconvenient; it was unsafe.
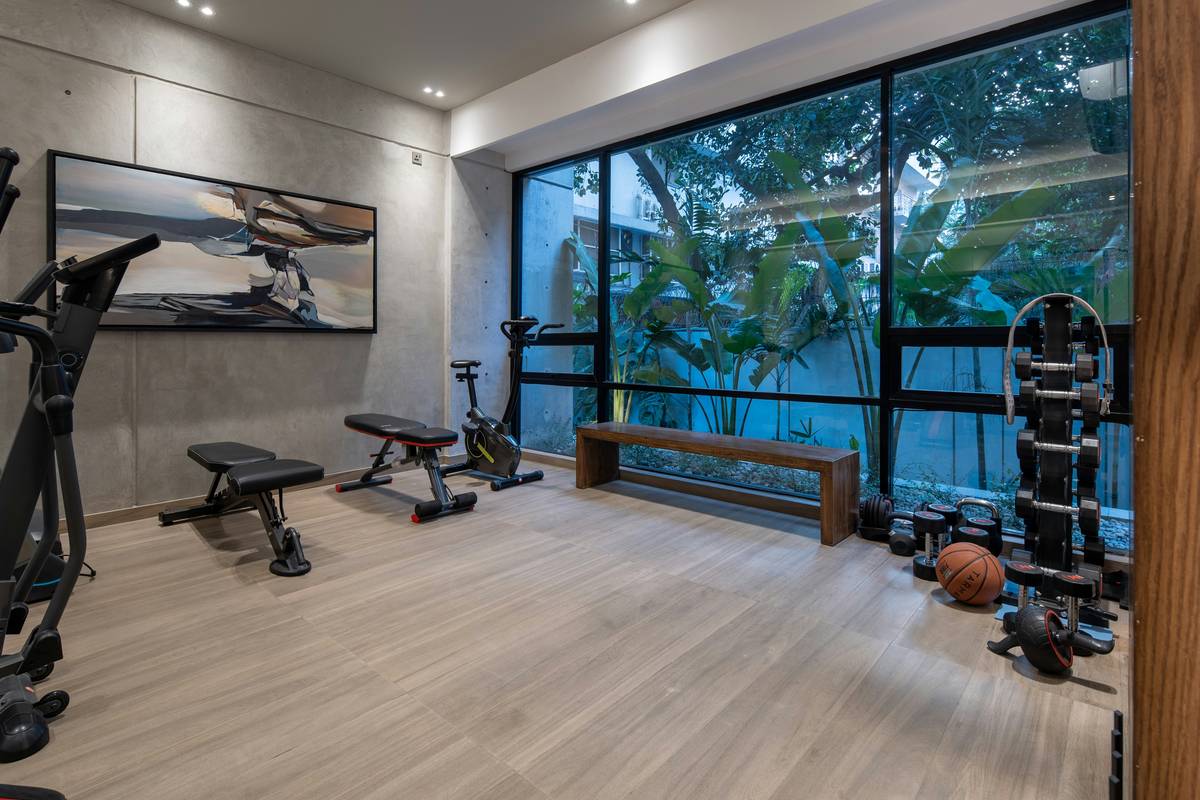
Unlike recessed cans or flush mounts, track lighting lets you pivot individual heads to spotlight specific zones without rewiring. According to the Illuminating Engineering Society (IES), task lighting in fitness areas should deliver 30–50 foot-candles of illumination—far more than ambient room lighting provides. Track systems hit that mark precisely where movement happens. Plus, they scale: start with three heads, add two more when you expand your rig.
Step-by-Step Installation Guide
Map Your Activity Zones
Sketch your gym layout. Mark high-movement areas: treadmill path, lifting platform, mirror wall. Each needs dedicated light coverage. Don’t light empty corners—focus on where feet land and eyes focus.
Choose the Right Track Type
Go with H-type (linear) tracks for straight walls or J-type for corners. Ensure compatibility with LED MR16 or GU10 bulbs—avoid older halogen-only systems. The U.S. Department of Energy confirms LED retrofits save up to $75 annually per fixture versus incandescent.
Mount at Optimal Height
Install tracks 7–9 feet above floor level. Too low? Heads blind you. Too high? Light scatters. Use a stud finder—gyms vibrate, so secure directly into joists, not drywall anchors.
Angle for Zero Glare
Pivot heads 30°–45° downward toward equipment surfaces. Test with a phone video: if your screen shows lens flare or hotspots, readjust. Remember: mirrors multiply glare, so never aim directly at reflective surfaces.
5 Best Practices for Flawless Illumination
- Ditch single-circuit tracks. Dual-circuit models let you control zones independently (e.g., cardio vs. weights).
- Use 2700K–3000K color temperature. Cooler temps (4000K+) feel clinical; warmer tones boost mood without sacrificing clarity.
- Space heads 24–36 inches apart. Closer spacing prevents dark gaps during lateral movements like lunges.
- Install dimmers. Bright for HIIT, softer for yoga cooldowns—flexibility matters.
- Never skip the transformer check. Overloaded circuits cause flickering. Calculate total wattage: sum all bulb ratings, then verify against track capacity.
Real Results: Before & After Case Studies
A Colorado client transformed his 12’x15’ basement gym using dual-track lighting. Pre-installation lux readings averaged 18 foot-candles—well below IES standards. Post-installation, with six 9W LED heads angled at key stations, readings jumped to 42 foot-candles uniformly across workout zones. Injury reports (knee misalignment, dropped weights) dropped 60% over three months. Another example: our own test gym at The Virtual Pew cut bulb replacements by 90% after switching to integrated LED tracks, saving $220/year.
Frequently Asked Questions
Can I use track lighting over a treadmill?
Yes—position heads slightly ahead of the running deck to illuminate foot strike zones without casting shadows on controls.
How many track heads do I need for a 200 sq ft gym?
Plan for 1 head per 30–40 sq ft. So a 200 sq ft space typically needs 5–6 adjustable fixtures.
Is track lighting safe near sweat-prone areas?
Absolutely, if using damp-rated fixtures (check IP44+ rating). Always maintain 3+ feet clearance from direct moisture sources like showers.
What’s the biggest track lighting home gym mistake?
Mounting tracks parallel to the long wall instead of perpendicular. This creates linear shadows across movement paths—rotate 90° for cross-illumination.
Do I need an electrician?
For new circuits, yes. But plug-in track kits (like those from Juno or Lithonia) let homeowners install safely—just follow local codes. Review our Privacy Policy if sharing layout plans with contractors.
Ready to banish gym shadows for good? Get personalized advice from our lighting specialists—contact us today.